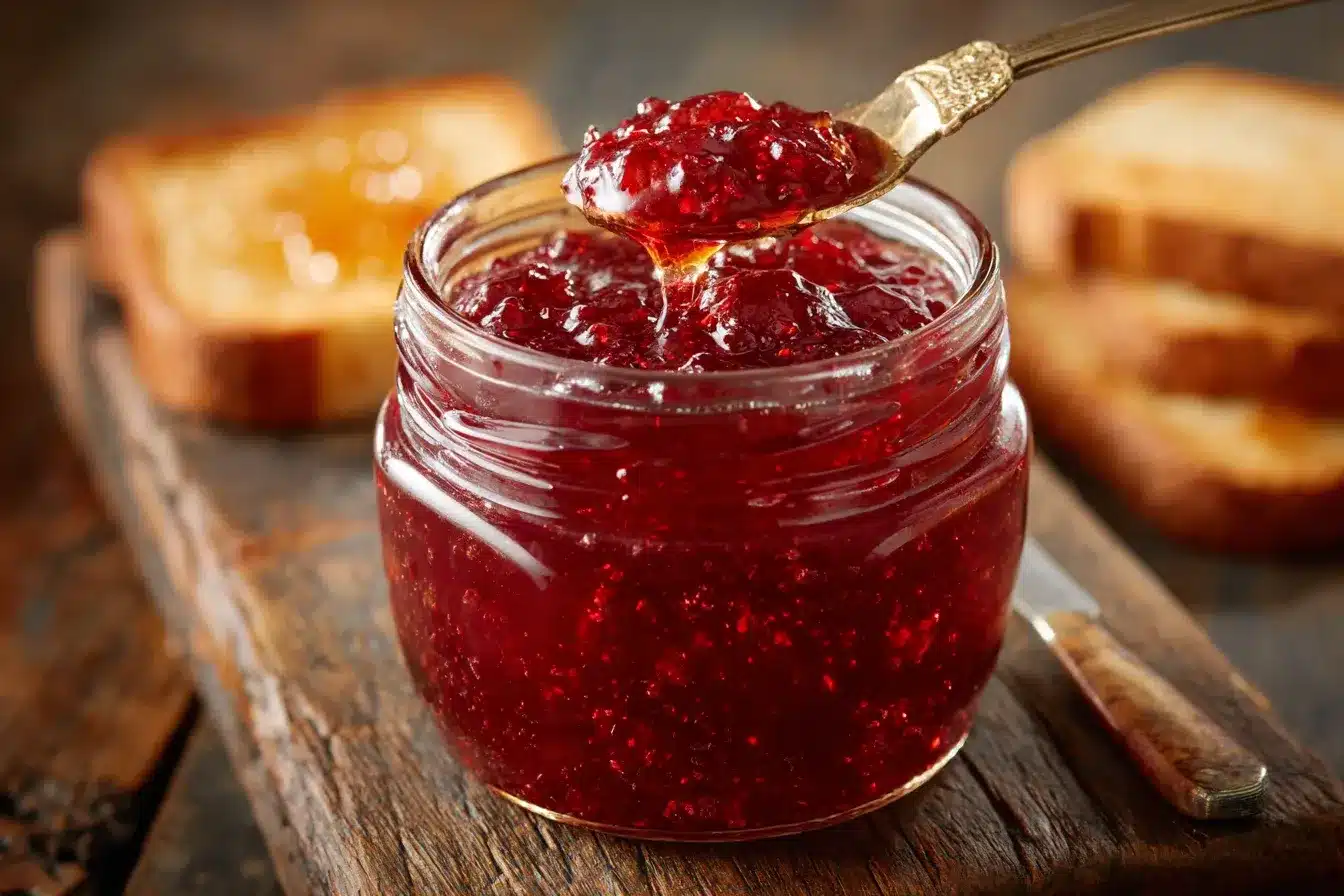
Plum jelly has that jewel tone that makes me swoon, and I promise this batch is bright, tangy, and so spreadable. Because I’m the girl who sneaks spoonfuls out of the jar, I needed a recipe that’s fuss free and reliable. And while I was simmering fruit, I kept thinking about these cozy pear preserves on my shelf, since they scratch the same fruity itch in a totally different way. So grab a pot, and let’s make Plum jelly you’ll want on everything.
Table of Contents
What Exactly Is Plum jelly?
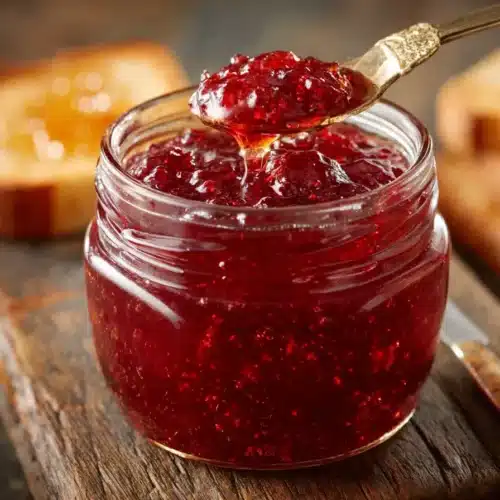
Plum jelly is a clear, silky fruit spread made from plum juice, sugar, and pectin, and it tastes like the essence of late summer in a jar. While jam keeps bits of fruit, Plum jelly is all about that smooth, glassy finish that glows on toast and biscuits. And because it’s strained, you get a bright flavor without skins or pulp. So if you like a tidy, glossy spread, Plum jelly is your new breakfast friend. For a chunkier vibe, this easy fruit compote also hits the spot.
Ingredients Overview for Easy Plum jelly
Before we start, here’s the game plan for spot-on Plum jelly with minimal stress. And yes, the ingredient list is short, which keeps the flavor clean and the set consistent. If you plan to tuck the jelly into hand pies later, these creative pie crust designs are fun to try. So let’s talk about what you’ll need.
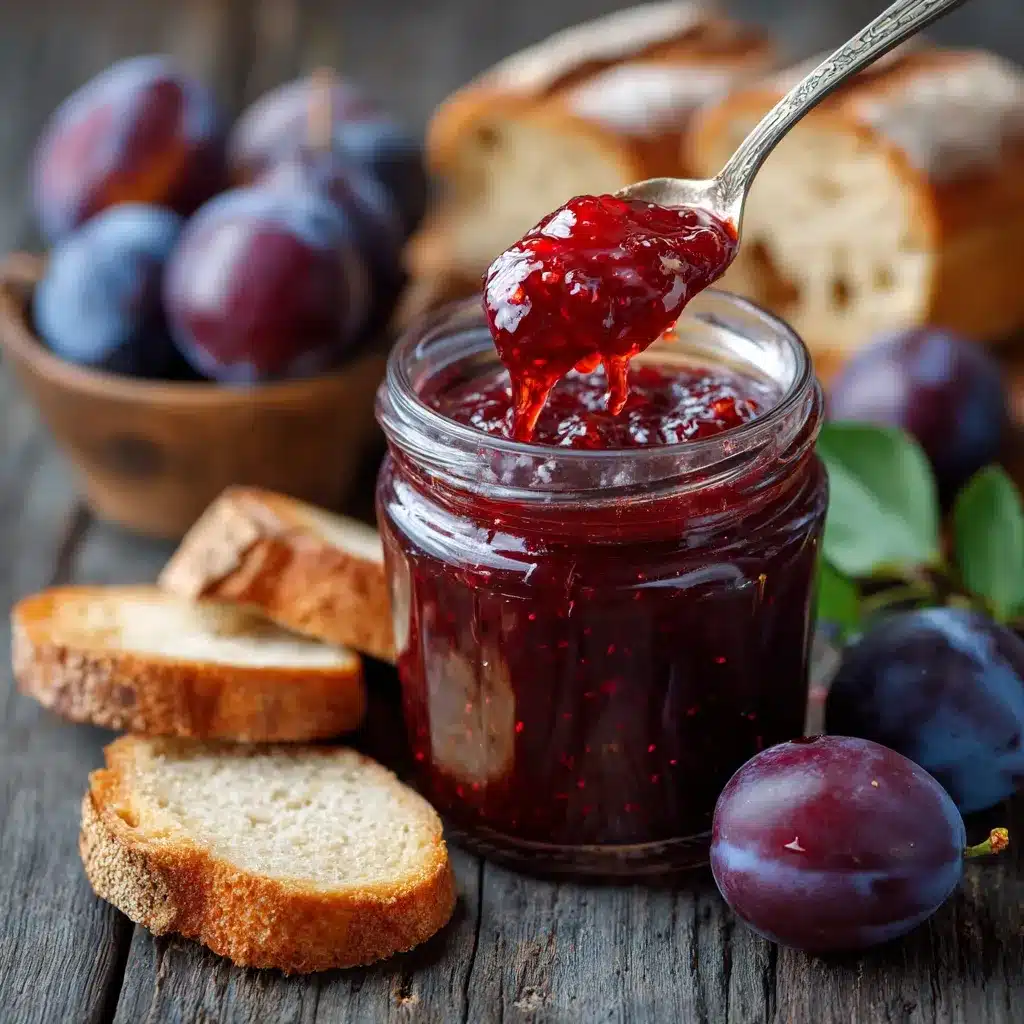
- Ripe plums: Juicy, fragrant plums bring sweet-tart flavor and gorgeous color to Plum jelly. If yours are very sweet, you can slightly reduce the sugar to taste.
- Granulated sugar: Standard white sugar gives the jelly structure and shine. If you prefer less sweetness, start by holding back 1/4 cup and taste as you go.
- Liquid pectin: This helps Plum jelly set reliably. If you only have powdered pectin, follow the package ratio and add it earlier with the juice.
- Lemon juice: A splash brightens the fruit and balances sugar. Bottled lemon juice works for consistent acidity.
- Water: Just enough to get the juice extraction going without diluting the flavor.
- Salt: A tiny pinch makes the fruit pop. Skip if you like it purely sweet.
- Optional spices: A whisper of cinnamon or vanilla can round out Plum jelly, but go light so the fruit stays the star.
For storage peace of mind, I always keep my jars clean and my rims tidy, since sticky rims can mess with the seal. And because I get this question a lot, you can review simple storing basics in this helpful guide on how to store and freeze baked goods, which also applies to labeling and dating jars for pantry sanity. So once you gather everything, you’re halfway to jewel-bright Plum jelly.
Step-by-Step Instructions: How To Make Plum jelly
I like to keep this process calm and steady, since a smooth simmer gives the cleanest flavor. And if you plan to serve scones with your Plum jelly later, soft clouds of homemade topping are dreamy, so peek at this quick guide on how to whip cream. Now let’s get cooking.
- Prep the fruit: Rinse 4 pounds of ripe plums. Then pit and quarter them. If they’re very tart, don’t worry, because Plum jelly loves a little tang.
- Extract the juice: Add plums to a large pot with 1 cup water. Then simmer 20 to 25 minutes, stirring and mashing gently until the fruit releases lots of juice and the skins look pale.
- Strain for clarity: Pour the hot fruit into a fine mesh strainer lined with cheesecloth. Then let it drip without pressing for the clearest Plum jelly. For more body, you can very gently press near the end.
- Measure and sweeten: Measure the juice. Then add 3/4 cup sugar for every 1 cup plum juice, plus 1 tablespoon lemon juice per 3 cups juice. Stir to dissolve.
- Bring to a boil: Return the sweetened juice to the pot. Then bring it to a rolling boil over medium high heat while stirring. The bubbles should look lively and stacked.
- Add pectin: Stir in liquid pectin following package amounts for your measured juice. Then boil hard for 1 minute, still stirring. This is where Plum jelly gets its magic set.
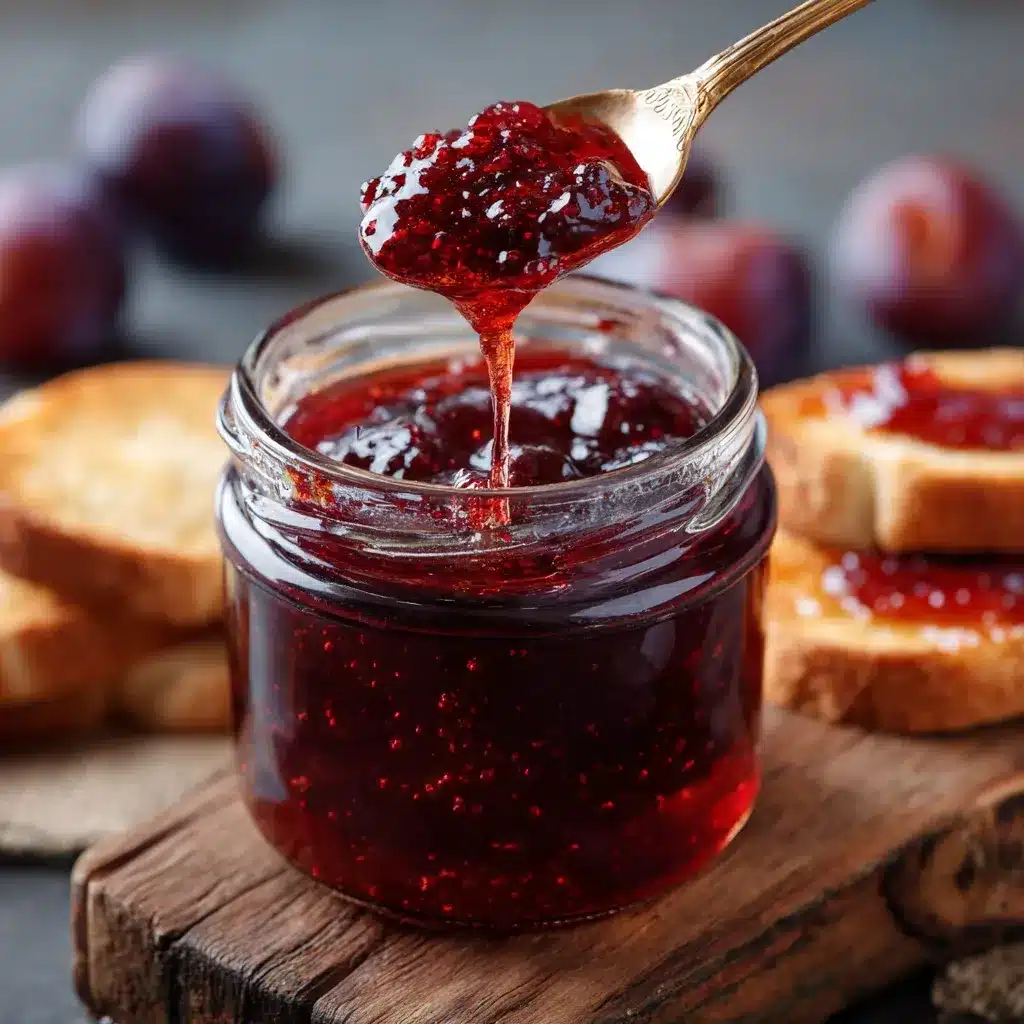
- Check the set: Chill a saucer in the freezer. Then spoon a little jelly on it and nudge the edge with your finger. If it wrinkles, you’re ready. If not, simmer 1 to 2 minutes more and test again.
- Skim and jar: Turn off the heat and skim any foam. Then ladle hot Plum jelly into warm, clean jars, leaving 1/4 inch headspace. Wipe rims and add lids.
- Process briefly: For shelf stable storage, process jars in a boiling water bath for 10 minutes, adjusting for altitude as needed. Or chill the jars and keep them in the fridge if you’ll finish them soon.
- Cool and store: Remove jars to a towel lined counter. Then let them cool without touching. You’ll hear those gentle pops as they seal, which never gets old.
Once the jars are set and labeled, I always stash one in the fridge for immediate spooning. And when I’m building a breakfast tray with toast and cookies, I reach for these chewy blueberry muffin cookies because their tender crumb loves a swipe of Plum jelly.
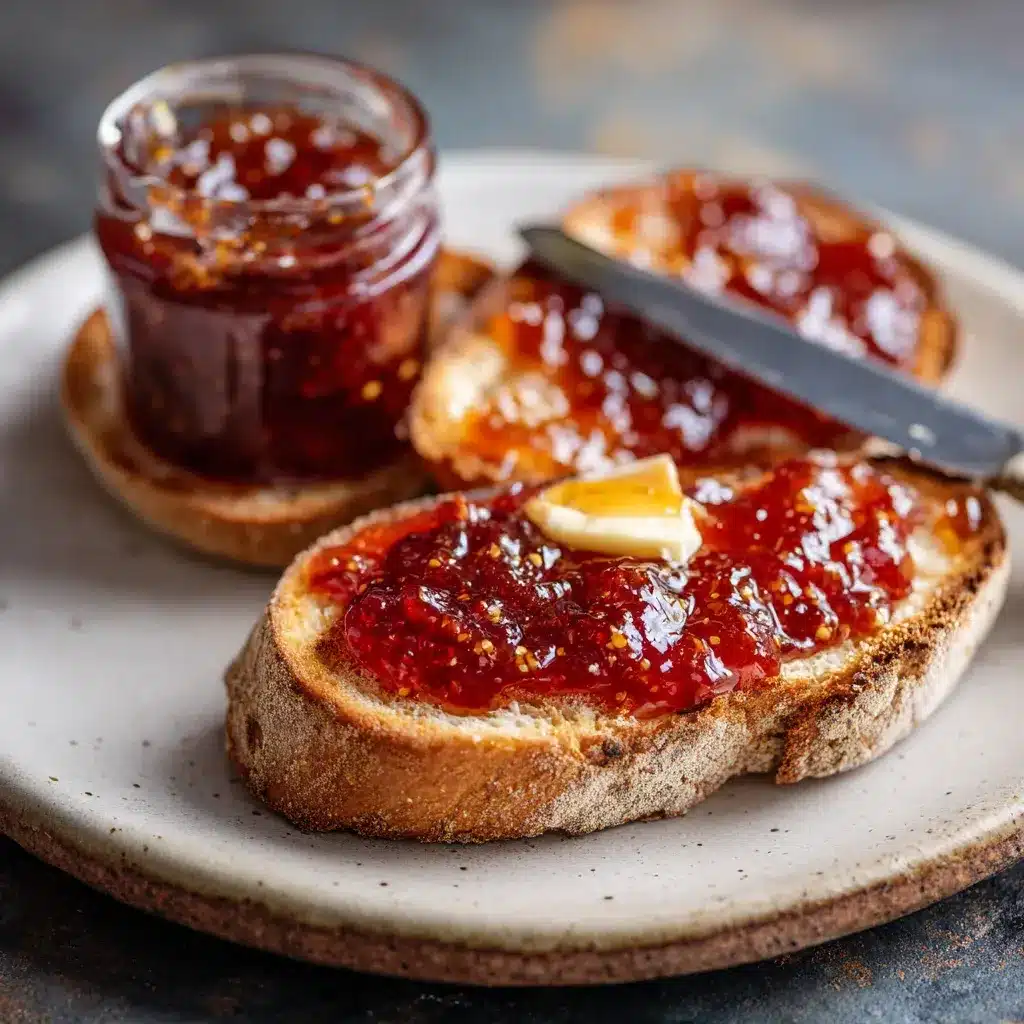
Serving Ideas That Make Plum jelly Shine
Warm biscuits and Plum jelly are a match that feels like a hug, and the tart sweetness pairs so well with salty butter. For dessert plates, I sometimes add a shortbread bar and a dollop of jelly for contrast, and these sunny lemon blueberry shortbread bars play nicely with that plum sparkle. And if you’re into pairing, try it with soft cheeses, drizzle it over yogurt, or brush it on fruit tarts for a glossy finish. So keep a jar handy for breakfast, snacks, and easy sweets.
Tips For The Perfect Plum jelly
I learned a few small habits that make a big difference, especially when juggling jars and timers. And when I plan a cookie tin to go with my jars, I like baking these cozy apple pie snickerdoodle cookies because their cinnamon swirl plays so well with Plum jelly. So here’s what helps me every time.
- Use ripe fruit: Slightly soft plums bring better color and flavor to Plum jelly, and underripe fruit can taste flat.
- Measure the juice: Always measure after straining, since juice volume can vary and affects the set.
- Sugar ratio matters: Stick to the sugar per cup of juice for consistent gelling. Low sugar pectin can be swapped if needed.
- Boil hard, but briefly: A lively, rolling boil activates pectin without cooking away fresh flavor.
- Chill-test often: The freezer plate test tells you exactly when Plum jelly is ready, so you avoid overcooking.
- Skim foam: A quick skim keeps your jars clear and pretty.
- Warm jars: Hot jelly into warm jars helps prevent thermal shock and keeps the process smooth.
- Label and date: Because future you will thank present you when choosing which jar to open first.
Q&A Section
How long does Plum jelly keep? Once processed, sealed jars keep in a cool, dark spot for about a year. And after opening, stash the jar in the fridge for 3 to 4 weeks, similar to how I treat cakes and loaves following this guide to smart storage in how to store and freeze baked goods. So always use a clean spoon and close the lid tightly.
Can I make Plum jelly without pectin? You can, but it takes longer cooking and a higher sugar ratio. And the flavor can lean a bit cooked. If you’re in that mood, a softly set fruit topping like this simple fruit compote offers a lovely alternative. So for a bright, quick set, I prefer pectin.
What can I serve with Plum jelly besides toast? I like spooning it over pancakes, stirring it into yogurt, and adding it inside thumbprint cookies. And for a pretty dessert plate, a wedge of berry crumble with a shiny drizzle of Plum jelly tastes like summer in every bite. So keep it in reach for baking projects too.
Could I swirl Plum jelly into other bakes? Absolutely, and I love tucking it into bars or cookie centers. For a stone fruit party on a plate, a spoonful next to warm peach crumble is so good, and that sweet-tart pop really sings. So go ahead and brush it on tart shells for a glossy finish as well.
Why You’ll Love This Jar of Joy
This recipe gives you glossy Plum jelly with a bright, jammy flavor and a gentle set that spreads like a dream. And the process is simple enough for a weeknight simmer, yet special enough for gifting. Because you strain the juice, the texture stays silky, and the color is stunning. So from toast mornings to cheese boards, you’ll keep reaching for it. For dessert pairing ideas, a square of strawberry cheesecake cookies turns snack time into something a little extra.
More Recipe Ideas
When my pantry has jars of Plum jelly ready to go, I like planning a little dessert board to match. And on rotation, I’ll bake a tray or two from these favorites, then set out spoons for everyone to taste and mix. So try these ideas and build your own sweet lineup with a couple easy bakes like these creamy mango cheesecake cups too.
- How to make meringue for topping mini tarts brushed with Plum jelly for shine.
- No bake mango cheesecake cups that welcome a tiny spoonful of jelly on top.
- Mango ice cream cheesecake with a glossy Plum jelly drizzle before serving.
- How to use ube in baking if you’re craving colorful sweets alongside your jars.
- Pie crust designs to turn jelly filled tarts into total showstoppers.
Behind My Test Kitchen Notes
I tested this Plum jelly three times, and the second batch went a hair too long, which taught me to chill test early and often. And once I got the timing right, the set turned soft and glossy, just how I like it for spreading. So now I keep a small saucer in the freezer at the start, which saves me every time. For more of what I’m cooking and baking, I share daily bits on Pinterest at MyRecipeCast, and I usually sip a tart refresher like this zesty calamansi drink while the jars cool.
Easy Plum Jelly
Equipment
- Large pot
- Cheesecloth
- Fine mesh strainer
- Jars with lids
- Ladle
- Canning funnel
- Tongs or jar lifter
- Boiling water bath canner or large stockpot
- Freezer-safe saucer (for set test)
Ingredients
- 4 pounds ripe plums, pitted and quartered
- 1 cup water
- 3/4 cup granulated sugar (per cup of plum juice)
- 1 tbsp lemon juice (per 3 cups of juice)
- liquid pectin (amount per package instructions for your juice volume)
- 1 pinch salt (optional)
- optional spices like cinnamon or vanilla, to taste
Instructions
- Rinse, pit, and quarter the plums.
- In a large pot, combine plums and 1 cup water. Simmer for 20–25 minutes, stirring and gently mashing until juice is released and skins are pale.
- Strain through a cheesecloth-lined fine mesh strainer without pressing for clear jelly. Gently press near the end if needed for more juice.
- Measure the juice. Add 3/4 cup sugar per cup of juice and 1 tablespoon lemon juice per 3 cups juice. Stir until sugar dissolves.
- Bring sweetened juice to a rolling boil over medium-high heat, stirring frequently.
- Stir in liquid pectin following package amounts. Boil hard for 1 minute, stirring constantly.
- Use the freezer test: spoon jelly onto a chilled saucer, wait a moment, then nudge. If it wrinkles, it’s ready. Simmer 1–2 more minutes if needed and test again.
- Remove from heat. Skim foam and ladle hot jelly into clean, warm jars, leaving 1/4-inch headspace. Wipe rims and seal with lids.
- Process jars in a boiling water bath for 10 minutes (adjust for altitude). Cool on a towel-lined counter until sealed. Store sealed jars in a cool, dark place.